> ## Documentation Index
> Fetch the complete documentation index at: https://docs.kepler.ai/llms.txt
> Use this file to discover all available pages before exploring further.
# Connect a client
> Add the Kepler connector to Claude, ChatGPT, Cursor, and other MCP clients.
Kepler is a remote MCP server. You add it to your client once using the connector URL, sign in with your Kepler account, and your assistant can run Kepler research from then on.
## Connector URL
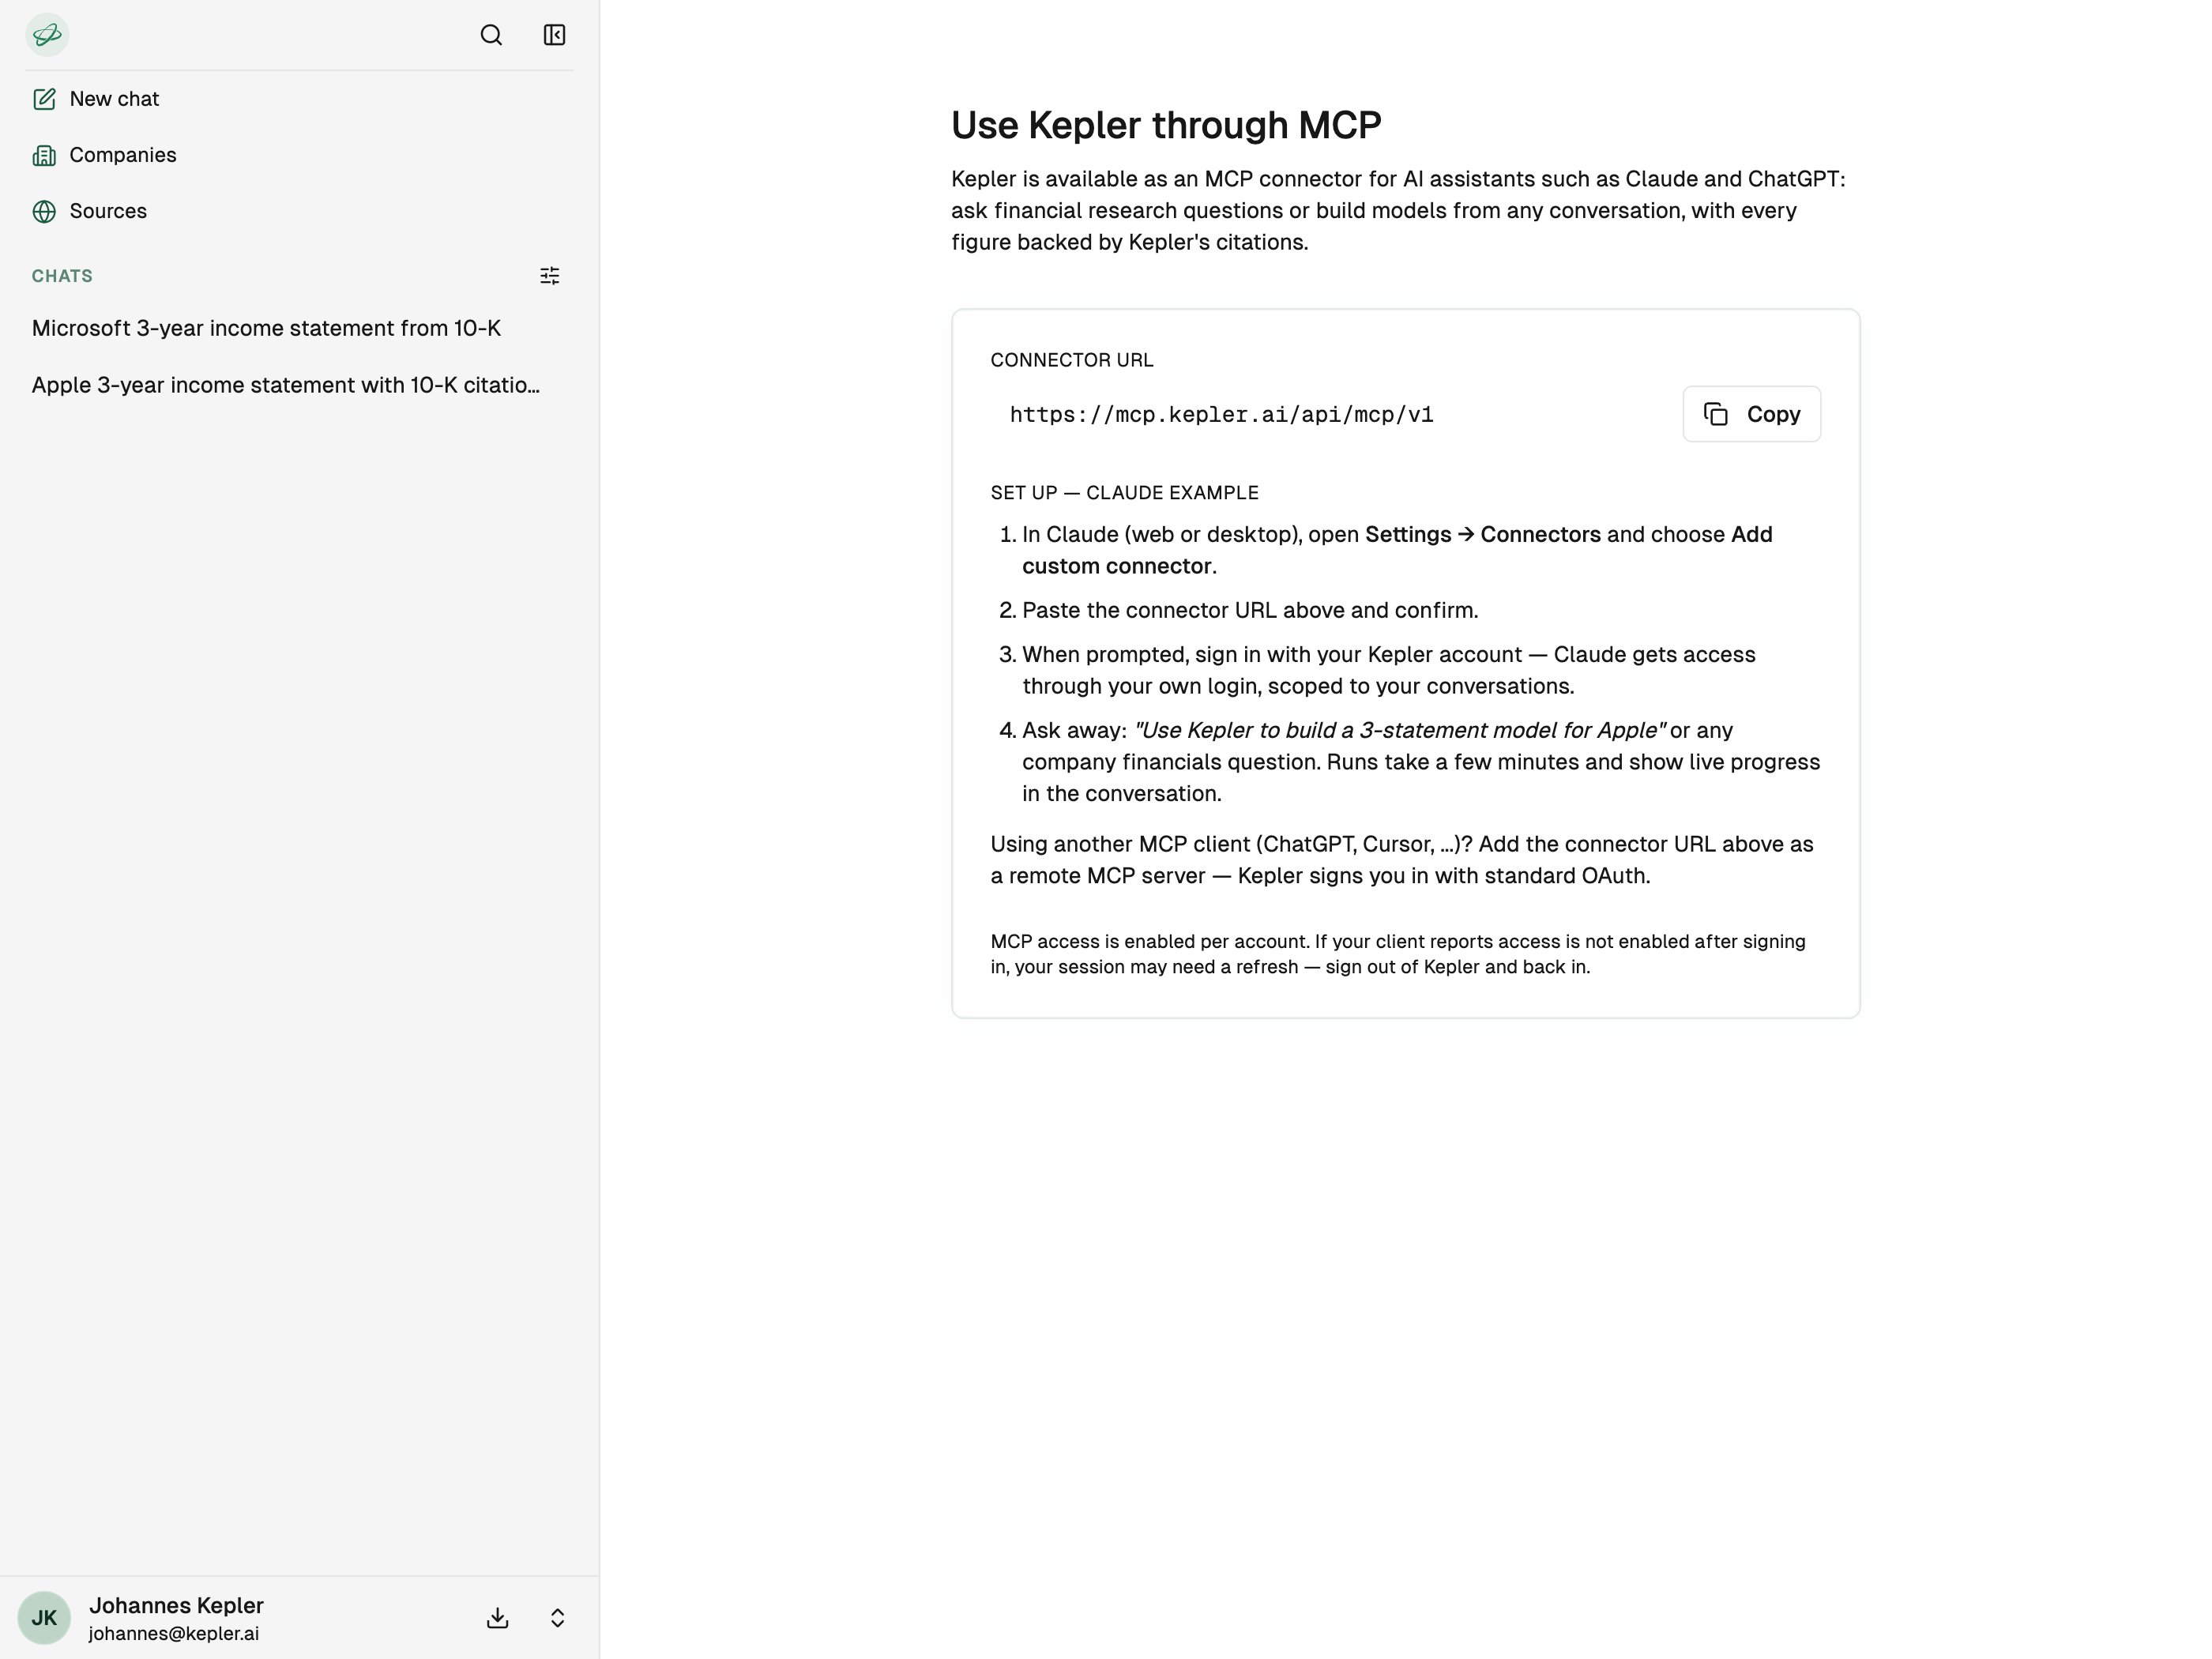
Use this URL wherever your client asks for a remote MCP server or custom connector:
```text theme={null}
https://mcp.kepler.ai/api/mcp/v1
```
You can also find this URL inside the Kepler app under **Use through MCP** in the account menu, with a copy button and the setup steps.
 ## Prerequisites
* A Kepler account with MCP access enabled. See [access](/mcp/overview#access) if your client reports access isn't enabled.
* An MCP-capable client (Claude, ChatGPT, Cursor, VS Code, or another that supports remote MCP servers).
## Set up your client
Works in Claude on the web and in the Claude desktop app.
Go to **Settings → Connectors** and choose **Add custom connector**.
Paste `https://mcp.kepler.ai/api/mcp/v1` and confirm.
When prompted, sign in with your Kepler account. Claude gets access through your own login, scoped to your conversations.
Ask a financial question or request a model, for example *"Use Kepler to build a 3-statement model for Apple."* Runs take a few minutes and show live progress in the conversation.
Add Kepler as an HTTP transport MCP server from the CLI:
```bash theme={null}
claude mcp add --transport http kepler https://mcp.kepler.ai/api/mcp/v1
```
The first time a Kepler tool is used, Claude Code walks you through the OAuth sign-in in your browser. Run `claude mcp list` to confirm the server is connected.
Custom connectors are available on ChatGPT plans that support them (Pro, Business, Enterprise, and Edu).
In **Settings → Connectors**, choose to add a custom connector.
Enter `https://mcp.kepler.ai/api/mcp/v1` as the MCP server URL and confirm.
Complete the OAuth sign-in with your Kepler account when prompted.
Enable the Kepler connector for your chat, then ask a financial research question.
Add Kepler to your MCP configuration file (`~/.cursor/mcp.json` for all projects, or `.cursor/mcp.json` in a project):
```json theme={null}
{
"mcpServers": {
"kepler": {
"url": "https://mcp.kepler.ai/api/mcp/v1"
}
}
}
```
Reload Cursor, then sign in to Kepler through the OAuth prompt when the server first connects. You can confirm the connection under **Settings → MCP**.
Add Kepler to your MCP configuration (`.vscode/mcp.json` in a workspace, or your user `mcp.json`):
```json theme={null}
{
"servers": {
"kepler": {
"type": "http",
"url": "https://mcp.kepler.ai/api/mcp/v1"
}
}
}
```
Start the server from the MCP view and complete the OAuth sign-in when prompted. Kepler's tools then become available to Copilot Chat in agent mode.
Any client that supports remote MCP servers over streamable HTTP can connect to Kepler. Add `https://mcp.kepler.ai/api/mcp/v1` as a remote MCP server, and Kepler signs you in with standard OAuth 2.1. There are no API keys to manage, since authentication is handled through your Kepler login.
## Verify the connection
Once connected, ask your assistant a quick availability question that doesn't need a full run:
```text theme={null}
Use Kepler to check what filings are available for Microsoft.
```
This calls the [`lookup_company`](/mcp/tools#lookup_company) tool and returns instantly, a fast way to confirm the connector is working before kicking off a longer research run.
## Troubleshooting
MCP access is granted per account. If access isn't enabled after you sign in, ask your Kepler contact to enable it, then sign out of Kepler and back in so your session refreshes.
Make sure you entered the full URL including the `/api/mcp` path. A bare domain won't resolve the connector. Remove and re-add the server to trigger the sign-in again.
Runs are meant to take a few minutes, because Kepler is reading primary sources. Your assistant waits and streams progress. If a run runs long, it keeps waiting until a result or failure comes back. You can also continue the conversation or cancel the run. See [example workflows](/mcp/examples).
## Prerequisites
* A Kepler account with MCP access enabled. See [access](/mcp/overview#access) if your client reports access isn't enabled.
* An MCP-capable client (Claude, ChatGPT, Cursor, VS Code, or another that supports remote MCP servers).
## Set up your client
Works in Claude on the web and in the Claude desktop app.
Go to **Settings → Connectors** and choose **Add custom connector**.
Paste `https://mcp.kepler.ai/api/mcp/v1` and confirm.
When prompted, sign in with your Kepler account. Claude gets access through your own login, scoped to your conversations.
Ask a financial question or request a model, for example *"Use Kepler to build a 3-statement model for Apple."* Runs take a few minutes and show live progress in the conversation.
Add Kepler as an HTTP transport MCP server from the CLI:
```bash theme={null}
claude mcp add --transport http kepler https://mcp.kepler.ai/api/mcp/v1
```
The first time a Kepler tool is used, Claude Code walks you through the OAuth sign-in in your browser. Run `claude mcp list` to confirm the server is connected.
Custom connectors are available on ChatGPT plans that support them (Pro, Business, Enterprise, and Edu).
In **Settings → Connectors**, choose to add a custom connector.
Enter `https://mcp.kepler.ai/api/mcp/v1` as the MCP server URL and confirm.
Complete the OAuth sign-in with your Kepler account when prompted.
Enable the Kepler connector for your chat, then ask a financial research question.
Add Kepler to your MCP configuration file (`~/.cursor/mcp.json` for all projects, or `.cursor/mcp.json` in a project):
```json theme={null}
{
"mcpServers": {
"kepler": {
"url": "https://mcp.kepler.ai/api/mcp/v1"
}
}
}
```
Reload Cursor, then sign in to Kepler through the OAuth prompt when the server first connects. You can confirm the connection under **Settings → MCP**.
Add Kepler to your MCP configuration (`.vscode/mcp.json` in a workspace, or your user `mcp.json`):
```json theme={null}
{
"servers": {
"kepler": {
"type": "http",
"url": "https://mcp.kepler.ai/api/mcp/v1"
}
}
}
```
Start the server from the MCP view and complete the OAuth sign-in when prompted. Kepler's tools then become available to Copilot Chat in agent mode.
Any client that supports remote MCP servers over streamable HTTP can connect to Kepler. Add `https://mcp.kepler.ai/api/mcp/v1` as a remote MCP server, and Kepler signs you in with standard OAuth 2.1. There are no API keys to manage, since authentication is handled through your Kepler login.
## Verify the connection
Once connected, ask your assistant a quick availability question that doesn't need a full run:
```text theme={null}
Use Kepler to check what filings are available for Microsoft.
```
This calls the [`lookup_company`](/mcp/tools#lookup_company) tool and returns instantly, a fast way to confirm the connector is working before kicking off a longer research run.
## Troubleshooting
MCP access is granted per account. If access isn't enabled after you sign in, ask your Kepler contact to enable it, then sign out of Kepler and back in so your session refreshes.
Make sure you entered the full URL including the `/api/mcp` path. A bare domain won't resolve the connector. Remove and re-add the server to trigger the sign-in again.
Runs are meant to take a few minutes, because Kepler is reading primary sources. Your assistant waits and streams progress. If a run runs long, it keeps waiting until a result or failure comes back. You can also continue the conversation or cancel the run. See [example workflows](/mcp/examples).